There are a lot of tools and applications connected to 3D printing available to Fedora users. In this article, I’ll guide you through one possible scenario of creating a 3D physical object: from an idea to a real thing.
My friend asked me few days ago to 3D print something for him. He said his kitchen tap is too low for him and that it obstructs him when washing dishes. He would like to move it up a bit using a circular tube with this profile (numbers are in millimeters):

A sketch of the desired object
Creating a digital 3D model
Already knowing how the object is shaped and sized, it might still be a hard task for someone with zero CAD or 3D modeler experience to create the model. Me being a programmer I like a modeler called OpenSCAD (you can get it in Fedora via the Software application, or using the command line with sudo dnf install openscad ).
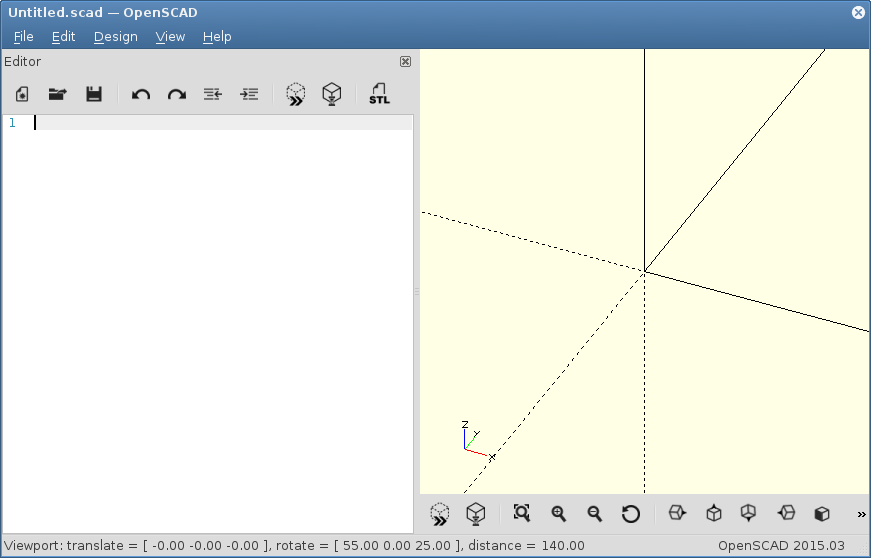
OpenSCAD
In OpenSCAD, instead of drawing object with your mouse, you code them. I will not try to explain the entire syntax in this article (you can find it in the manual), I’ll just explain the code for the thing we want to make.
difference() {
    cylinder(r=25,h=35);
    translate([0,0,-5]) cylinder(r=15,h=40);
    translate([0,0,30]) cylinder(r=22.5,h=10);
}
$fn=200;
This code takes a cylinder (with radius 25 and height 35) and subtracts two smaller cylinders moved a bit along the Z axis. The last line only makes the object a bit smoother than the default is. With the code entered in OpenSCAD’s code editor on the left, I use Design → Render from the menu to render the 3D model. Then I use File → Export → Export as STL… to save the model in a file format commonly used for 3D printing.
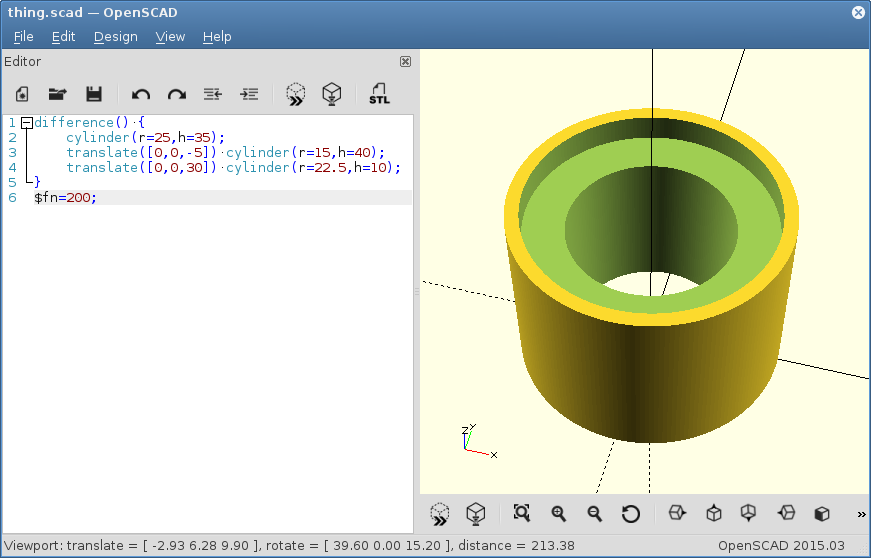
OpenSCAD with the 3D model
Now when the STL file is ready, I can view it in various other tools, such as MeshLab (meshlab package) or ADMeshGUI (available from a Copr repository).
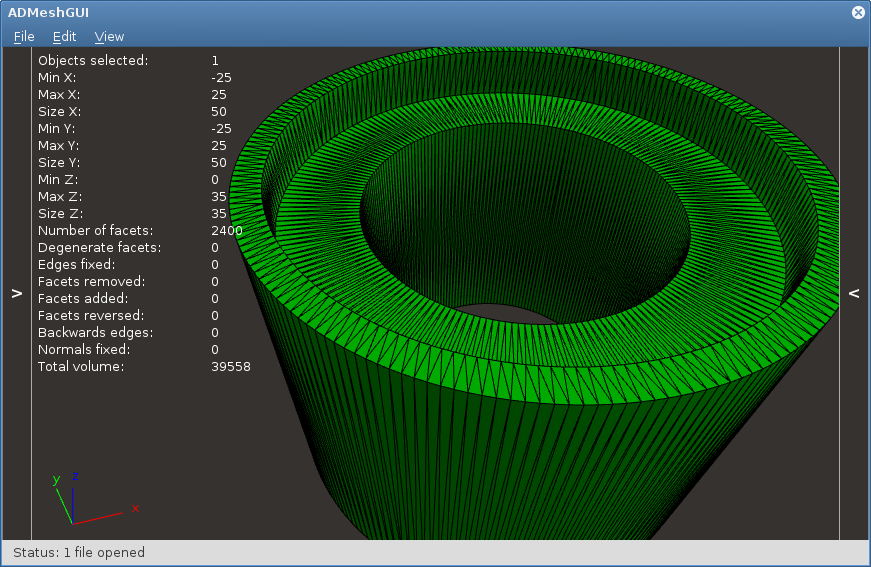
ADMeshGUI with our STL file
Note: OpenSCAD, as well as STL file format, uses no units. In the 3D printing area, the numbers used are usually considered millimeters, although you might find some files online using some non-standard units such as inches.
Slicing to layers
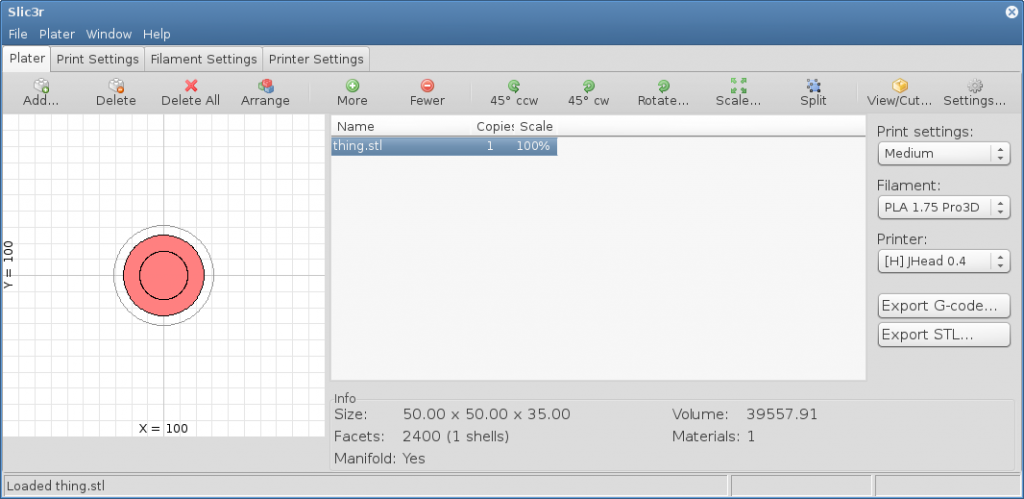
For the object to be printed it has to be sliced to layers and paths for the 3D printer’s nozzle. There are various apps available in Fedora capable of doing it, one of the most famous tools for this is Slic3r (package slic3r, newer version available from Copr).
For right result, it is crucial to have the correct slicer settings for your printer and material. You should obtain those from the whoever you’ve obtained your 3D printer (or just create your settings if you have built one yourself). When you select the right settings, just click Export G-code… to generate file with instructions for the printer.
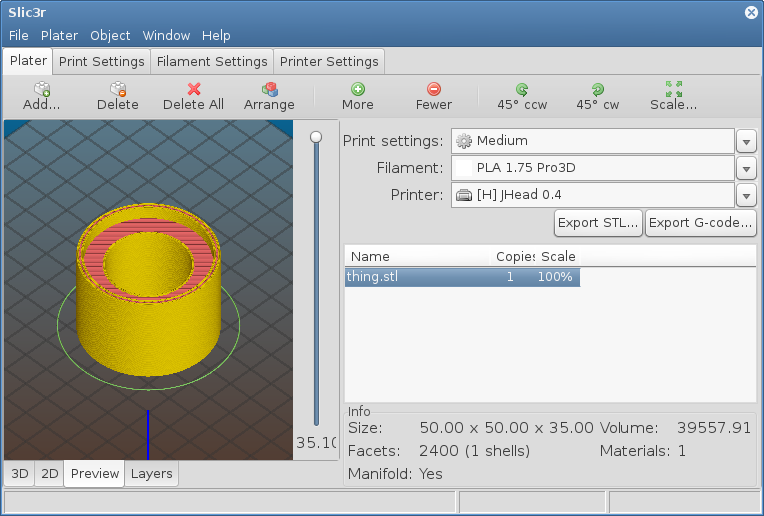
Slic3r 1.2.9 from Copr repository with G-code preview
The G-Code file is just a plain text with loads of numerical control commands. Here is a snip:
G21 ; set units to millimeters
M107
M190 S60 ; wait for bed temperature to be reached
M109 S195
G28 ; home all axes
G92 E0  ;reset extruder
G90 ; use absolute coordinates
M83 ; use relative distances for extrusion
G1 F1800.000 E-1.00000
G1 Z0.300 F7800.000
G1 X77.706 Y77.667 F7800.000
G1 E1.00000 F1800.000
G1 X78.476 Y76.924 E0.07695 F1800.000
G1 X79.209 Y76.261 E0.07110
G1 X79.963 Y75.622 E0.07108
G1 X80.743 Y75.000 E0.07179
G1 X81.533 Y74.412 E0.07080
G1 X82.348 Y73.843 E0.07150
G1 X83.178 Y73.301 E0.07131
G1 X84.025 Y72.786 E0.07133
G1 X84.891 Y72.296 E0.07151
G1 X85.766 Y71.836 E0.07110
G1 X86.655 Y71.404 E0.07115
G1 X87.562 Y70.998 E0.07148
...
Printing
With the gcode file, all that’s left to do is to feed those numerical control commands to the 3D printer. Some printers might have the ability to print from an SD card, others have to be connected by an USB cable during the entire print. To control you printer from Fedora, you might use Pronterface tool from Printrun (install the pronterface or printrun package). To communicate with the printer, you’re user has to be in the dialout group.
Once Pronterface is connected, user can load the G-code file and start the print. When you are currently printing, be sure not to accidentally suspend your computer by closing the lid.
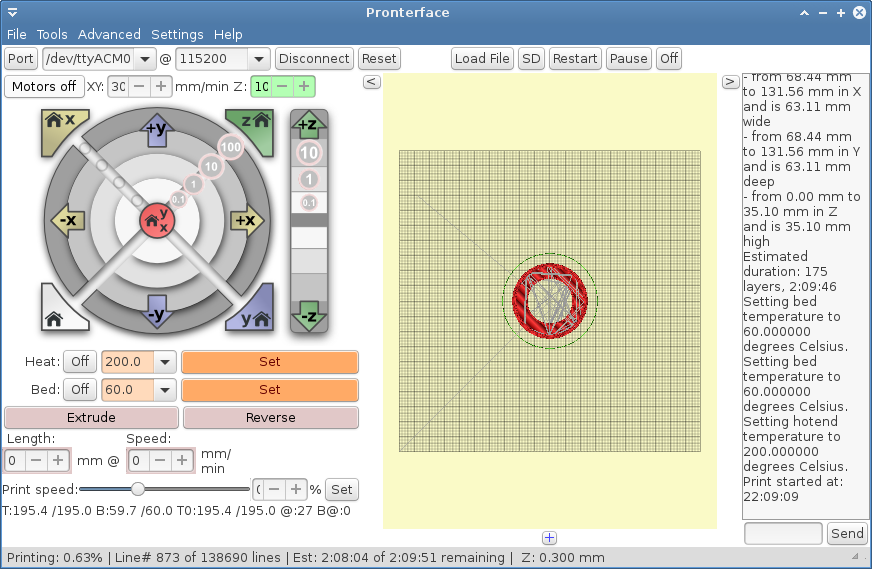
Pronterface: The print just started
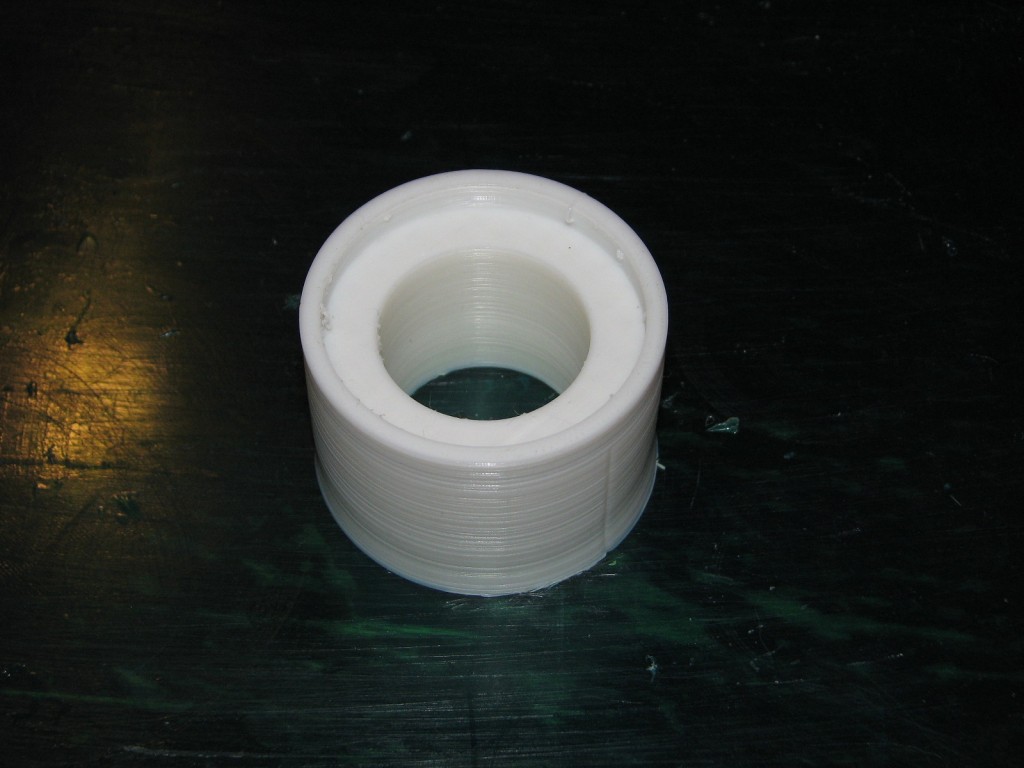
And finally, after some time, the real thing is ready, using only free software available in Fedora and open hardware. This article was not supposed to teach you everything about the tools presented here, nor list all the tools available in Fedora. However, you now might have the idea about how it works.
July 23, 2015 at 03:47
Hi, thanks for the nice post! How can I know what printers are compatible/supported by Fedora? Thanks!
July 24, 2015 at 04:53
There is no list of such devices. But each RepRap printer with Marlin-like firmware should work just fine. Also Lulzbots and Ultimakers. Basically any printer controlled with G-code * should be fine. Other printers with some proprietary communication system (such as new MakerBots) may need custom proprietary software that may or may not run on Fedora (specifically MakerWare is available for Fedora 20 and 21 and will probably work with Fedora 22 as well).
Slic3r can export several G-code flavors: RepRap (Marlin/Sprinter/Repetier), Teacup, MakerWare (old MakerBots), Sailfish (maybe even older MakerBots), Mach3/LinuxCNC, Machinekit.
July 26, 2015 at 11:12
Printrbot printers are compatible, too. Those are also based on Marlin firmware. I have a simple metal model (1403) and it works great with Fedora and the open source 3D printing tools.
July 26, 2015 at 16:59
Would be nice to have a 3D printing – oriented distro, similar to Fedora Electronics Lab. Perhaps there is one out there already?
July 27, 2015 at 18:47
I was suggesting a 3D printing spin back when I was firstly packaging those apps during the time when Fedora 19 was about to be relesed and the idea was either rejected or ignored.
August 8, 2015 at 11:52
Thanks for this post! Being a mechanical engineer, open-source CAD software has been something that is of interest to me. OpenSCAD is a great tool, but I’ve found it challenging to create interior fillets, which are a key feature for creating stronger shapes. It is very difficult to estimate the strength of a part with a “sharp” inside corner.
As an alternative, I have found that FreeCAD is an open-source CAD tool that can simply and effectively create more complex, more optimized shapes and designs. Parts can be created with a GUI interface, or generated with Python scripting*. FreeCAD is available for installation from the the rpmfusion software repository.
You can use Python programming to create miniature models of all sorts of things… you could digitize huge… tracts of land, for example.
September 11, 2015 at 08:46
A nice 3D explain. Thank you.